|
|
A little bragging here – my Mom was invited to show and sell her quilting at the local art co-operative in the center of Carlisle – the Carlisle Artisans
Their shop is very small but the stuff they have is great. They saw her work during the Old Home Day art show on the town common. Based on what they saw, they thought her stuff would be a great addition and she was invited to be a guest artisan for the end of 2015. Quite a lot of sewing later, her stuff is on view and for sale!
 Nancy Fohl quilting
For those of you who are not cross wired like me – Steve Martin classic bit here on Youtube
NSTAR (aka – national grid or something) came on Friday and installed the electrical power hook. Woo-Hoo!
-
-
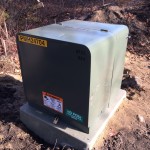
The electrical splice and transformer (which hums by the way). It is very large, about 4 foot per side
-
-
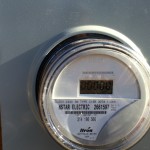
00000 Kilo Watt Hours consumed – it won’t stay that way for long
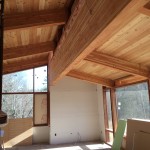
Paul’s team has been busy roughing in the drywall as well. I think the contrasts between the glass, the mahogany window trim and white walls will work really well
-
-
Drywall “rough-in” is almost complete. Texture and color contrast for the win!
-
-
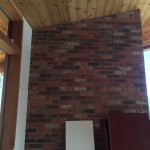
I think the natural mahogany trim, white walls and the brick will look great
-

-
Natural light via skylights in each bathroom. This is the guest bath with the integrated shower/tub system
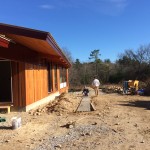
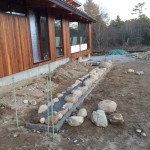
Also – the mason’s are working this weekend – presumably because it is still warm (50’s) and it is easier to work with the mortar this way. The entry to the house is via a ramp up from the carport area leading to the front door and then a patio area. The patio area / ramp will be about 6 feet wide and be flagged in blue stone. There will a low stone wall, capped in blue stone around the edge that will also work as seating in the sunshine.
-
-
Laying out the foundation for the stone entry ramp and patio. The area will be surrounded by a low stone wall, capped by blue stone flags. It should be low enough for acting as a bench to sit on. The mason and Paul, based on their experience with metal roofs, snow & ice sliding off the same etc… think the spacing is about right
-
-
The initial course of rock for the ramp wall
And a couple of photos relating to the kitchen. As I have noted in other construction and design posts, the center island will be a design feature and the main dining area. The island will be at a normal table height, to allow regular dining room chairs instead of bar stools. To get the under the table knee area, we are going to steal another idea from the Atomic Ranch books and use something I saw there – an aluminum I-Beam to cantilever support the counter top. To help the machinists interpret my poor drawing, I hacked together a wooden model out of some plywood on Saturday. Note, because the only wood I had was a bit warped, things are not very square and they don’t fit together too well – but it gives you the basic idea. See below
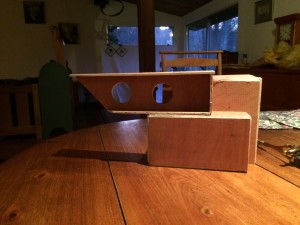 A model of the aluminum I-Beam structure for the island. Not to scale, even with itself, as the only material I had easily to hand yesterday was some luan plywood that had been covering up sliding window that got broken last winter when ice rammed through it. The plywood was not very flat.
Basically the idea is that the box in the back represents the casework cabinetry from the factory in New Hampshire. The I-Beam will sit on top of a box built onsite and lie flat to the back of the cabinet. The counter top will lie flat across the I-Beam and the cabinets -with the I-Beam projecting several feet in order to provide cantilevered support for the countertop Finally, I stopped by Carlisle Artisan’s to pick up some gifts and found these bowls – they looked great and fit with the whole mid-century theme of my house
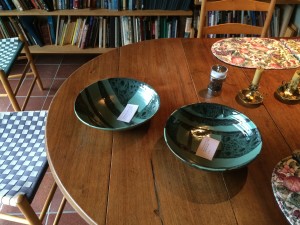 Two bowls I picked up for my new island countertop from Carlisle Artisans
Please see the prior post here for the answer to the question – Why build a mid century modern house in the early 21st century
At this point in my process, I had the land, the permits (thanks to the Fields hard work prior to selling the land to me!), and a builder picked out. I also had a lot of years of thinking about the feelings and features I wanted out of a house and some interesting photos of other projects (see my Idea Book on Houzz.com for Kitchen, Bath, Bath and Bath ideas )
I purchased a copy of Google sketchup – because that is what Deck was using for pre-visualization and that turned out to be unnecessary as I gave them PDFs only – lol. I started planning layout ideas for them to work from.
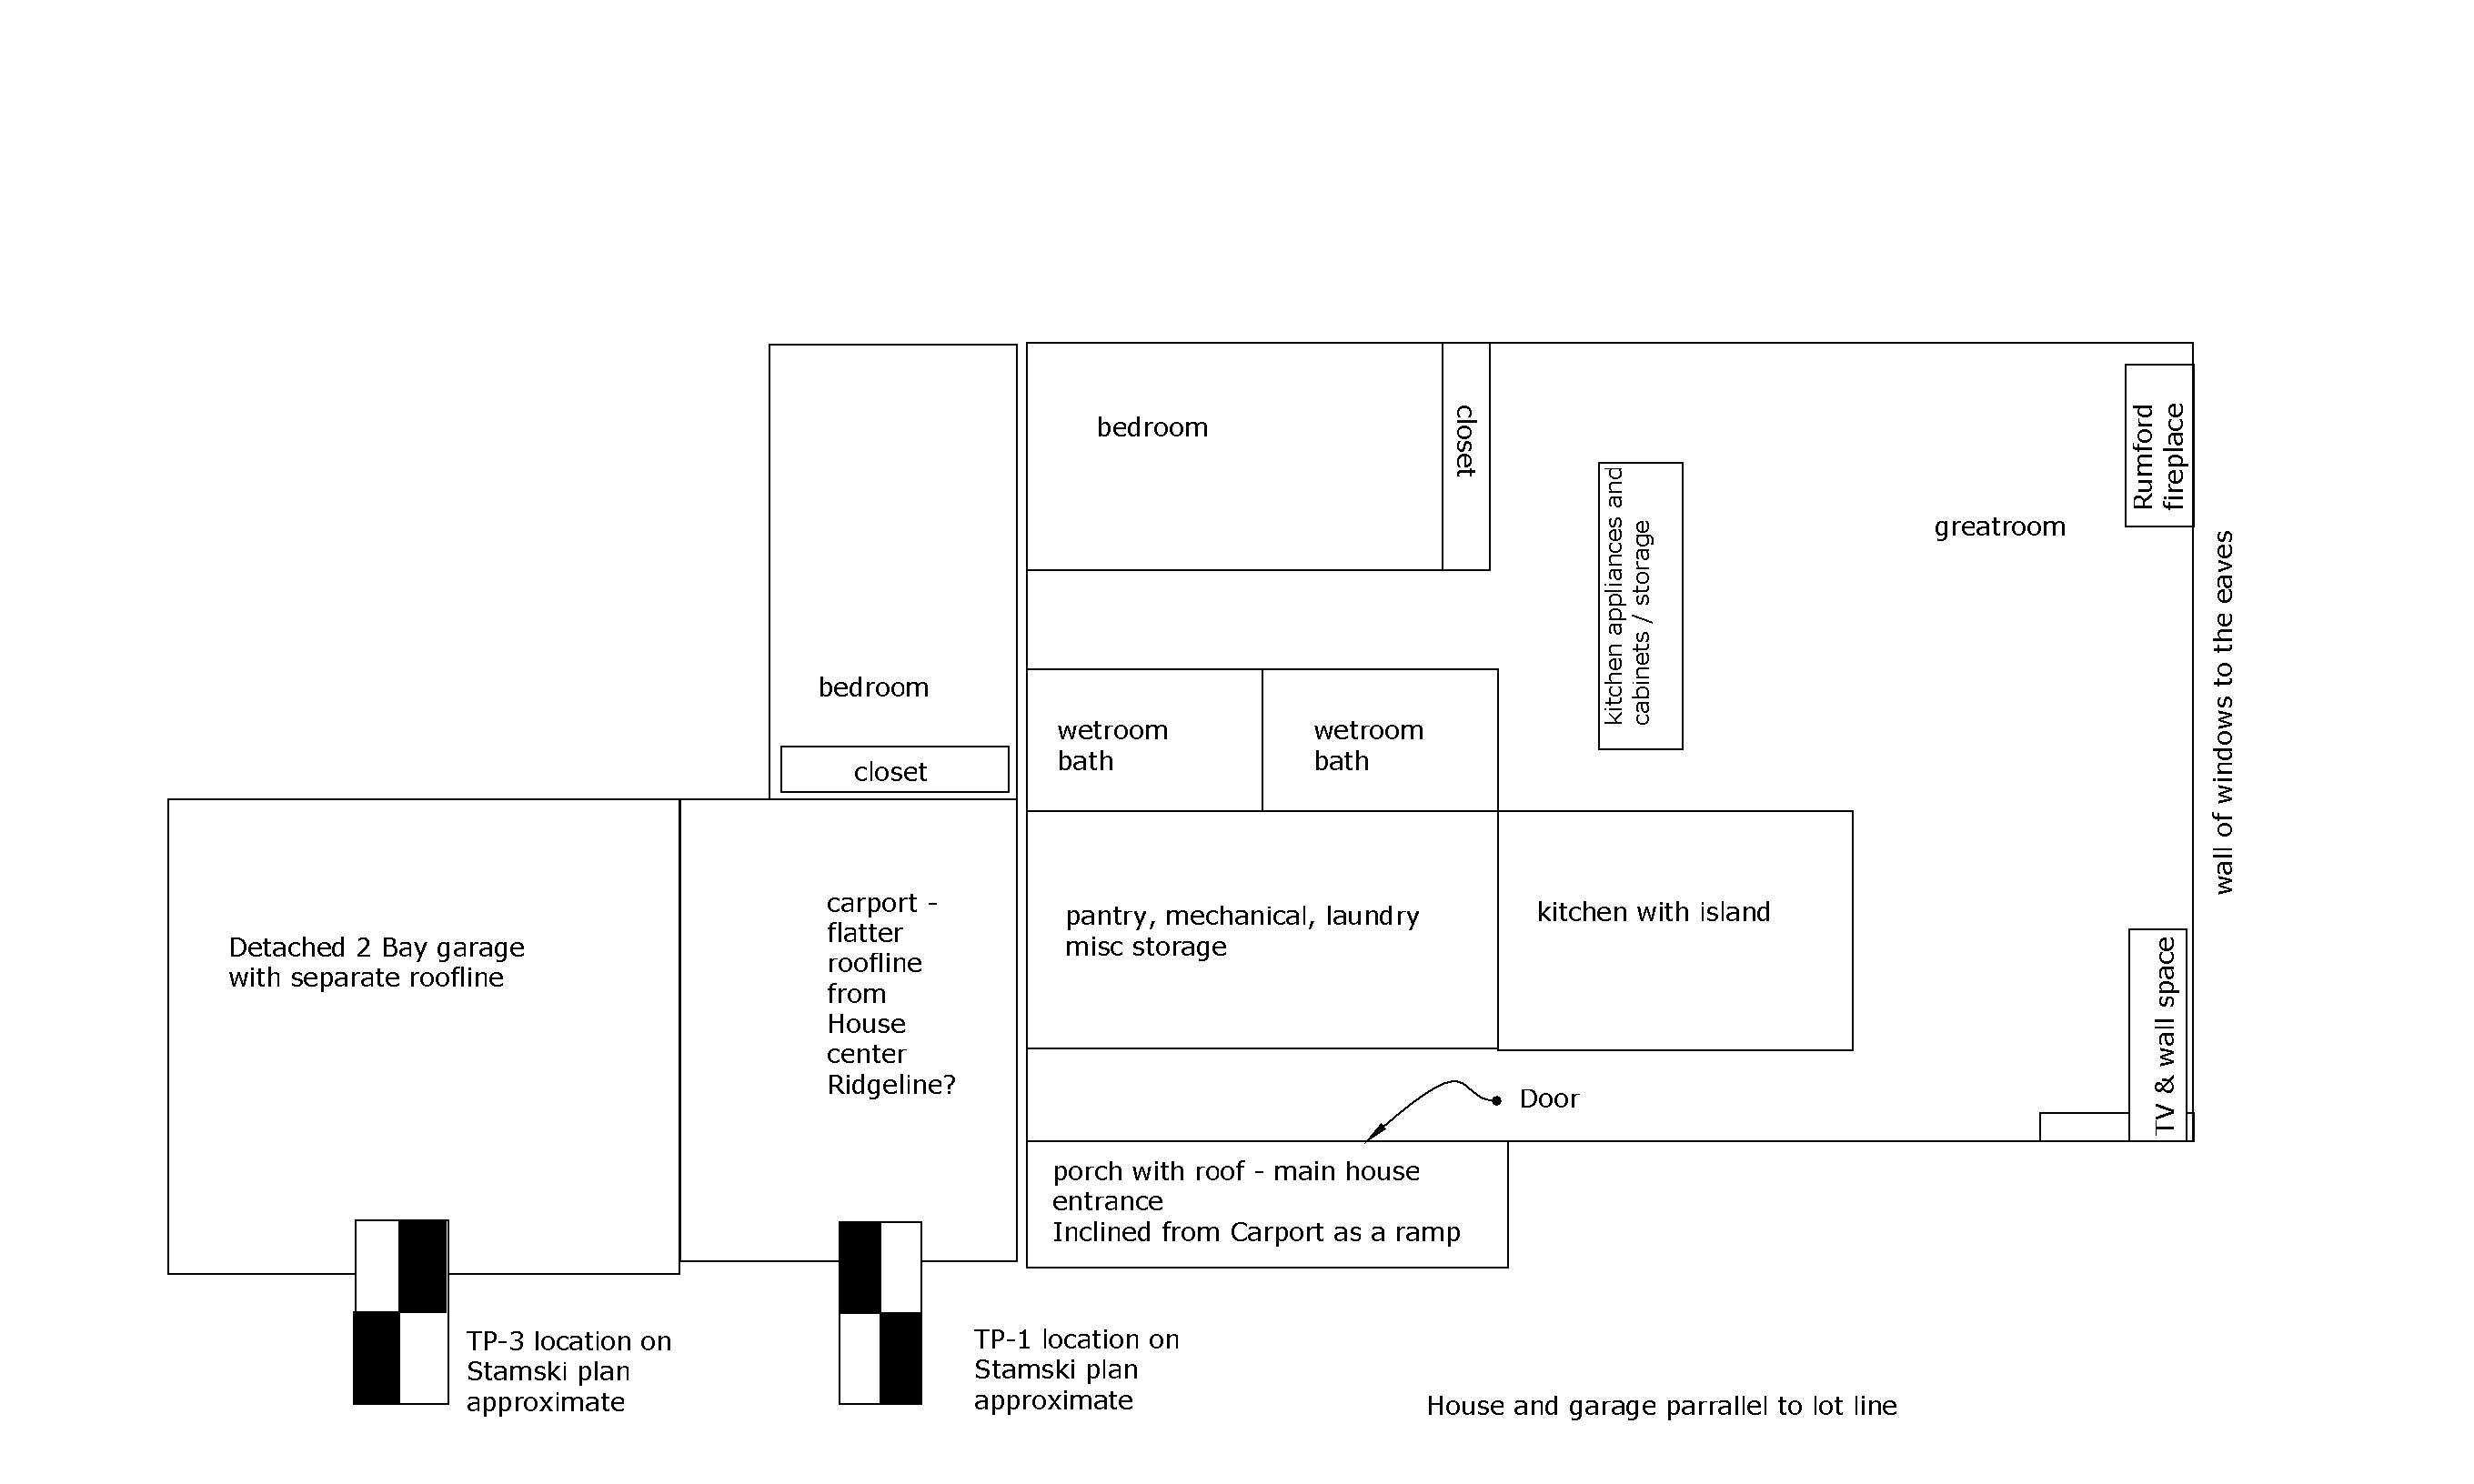
I had the general idea of layout for passive solar gain – orienting the house for the sun and correct calculation of the eaves for sun in the winter and shade in the summer – but what next? For simplicity, I wanted the utilities to be compact and central within the house, and the amount of wasted space with hallways to be minimized. We put the mechanical room, the wash room, kitchen and bathrooms all back to back in the central core of the house – and with easy access to the outside via a carport. The original thought of a 3 bay garage (two for the wood/metal shop) had gone out the window due to cost.
Centrally locating all the utilities does a couple of things – one, it reduces the run of water (less leak opportunities and cost) and it puts these spaces in well insulated interior areas while leaving views from all the more public areas.
This photo on Houzz really made me sit up and take notice and has been a central reference point throughout the project – we are copying a lot of the ideas here. Specifically note:
- The layout of the house overall – the entryway /main door is to the left. We used this idea as well
- The right hand side of the kitchen leads off to a more private area – with a blocking wall. I incorporated this flow by having the bedrooms and bathrooms in that direction – separating the public space from the private
- The sink and main appliances are along the back wall with cabinetry flanking the sink. This fit well with my idea of placing all the water flow back to back in the core of the house
- The island is a both a cooktop and a table – and is at table height instead of counter or bar height. I experimented and decided that the cook top at the 29″ of a standard table would work for me
- There is an overhead, custom lighting drop panel. One thing I realized is that the island would not naturally have overhead lighting since the roof could be quite a bit above you at this point. This is a key design feature
We decided not to follow the design here with a few items
- We are not going with the color scheme of the tile! Instead I am planning on white subway tile with an accent color tile stripe
- The stainless steel ventilation hood has been removed in favor of a down draft vent through the floor and out under the building
In terms of bathroom design, I never, ever take a sit down bath so my initial thought was to have open air walk in showers (aka – Wetroom) for both baths. Ultimately, I decided that both for flexibility and cost, to put a shower/tub one piece in the guest bath. However for the master bath, I went for the wetroom feel. This ideabook on Houzz.com (I mashed Kitchen and bath together for no particular reason) had several ideas on how to design a walk in, curbless, shower.
Due to self imposed space constraints, I made the bathrooms big enough for use, but not palaces – under the idea that you used them and then left – the limited square footage was better used elsewhere. This I think is going to lead to the wetroom needing a glass partition that will keep the spray organized – just because there is not going to be enough square footage to have a ‘section’ for the rain fall shower that is isolated. That is ok I think.
The vanities in both baths will be floating for easier cleaning.
In terms of bedrooms, again, I kept them purposely small since my habit is not to hang out in the bedroom. My thought is that you sleep there, store your clothes there and change. Otherwise, they are not used. A smaller room is easier to keep warm and doesn’t waste as much space. The layout we came up with managed to keep the hallway run to an absolute minimum
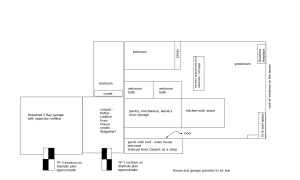 my version 6 room design layout that I gave Deck – this is what they designed the house from In the next Atomic Ranch post, I will tackle the great room
This is a post that I have been mulling over for quite some time – why did I decide to build a mid-century modern Atomic Ranch house as opposed to some other design style? What is the thought process behind my house?
I think I am going to post this as a new thread/category because I doubt I can pull everything together in one sitting
Recently the Concord Museum started a special exhibit called “Middlesex County Modern” that is exploring the modern architecture in the county where I grew up and now building my house, as well as the impact on the community and design world. Diane Williams – my project manager at Deck Acorn turned me onto the exhibition and Deck Acorn is one of the prime sponsors. It was a small but very interesting exhibit with many models of important early mid-century modern houses, photos of the various movers and shakers around the time the Gropius House was built and the influence that MIT and Harvard played in developing new post war design ideas. If you are around, the exhibit runs to March 20, 2016 and I would recommend it. The museum itself is also very interesting.
The house I grew up in is one that my parent’s built on 5 acres of land in Carlisle, MA, Middlesex County during the late sixties – so right in the late/middle of the explosion of mid century modern. It is a CORE house. Core, along with Tech Built, Acorn, Deck and other companies I am sure, have essentially collapsed into Deck/Acorn/Next The structure of their house is very bring the outside in with sliding glass doors in almost every room.
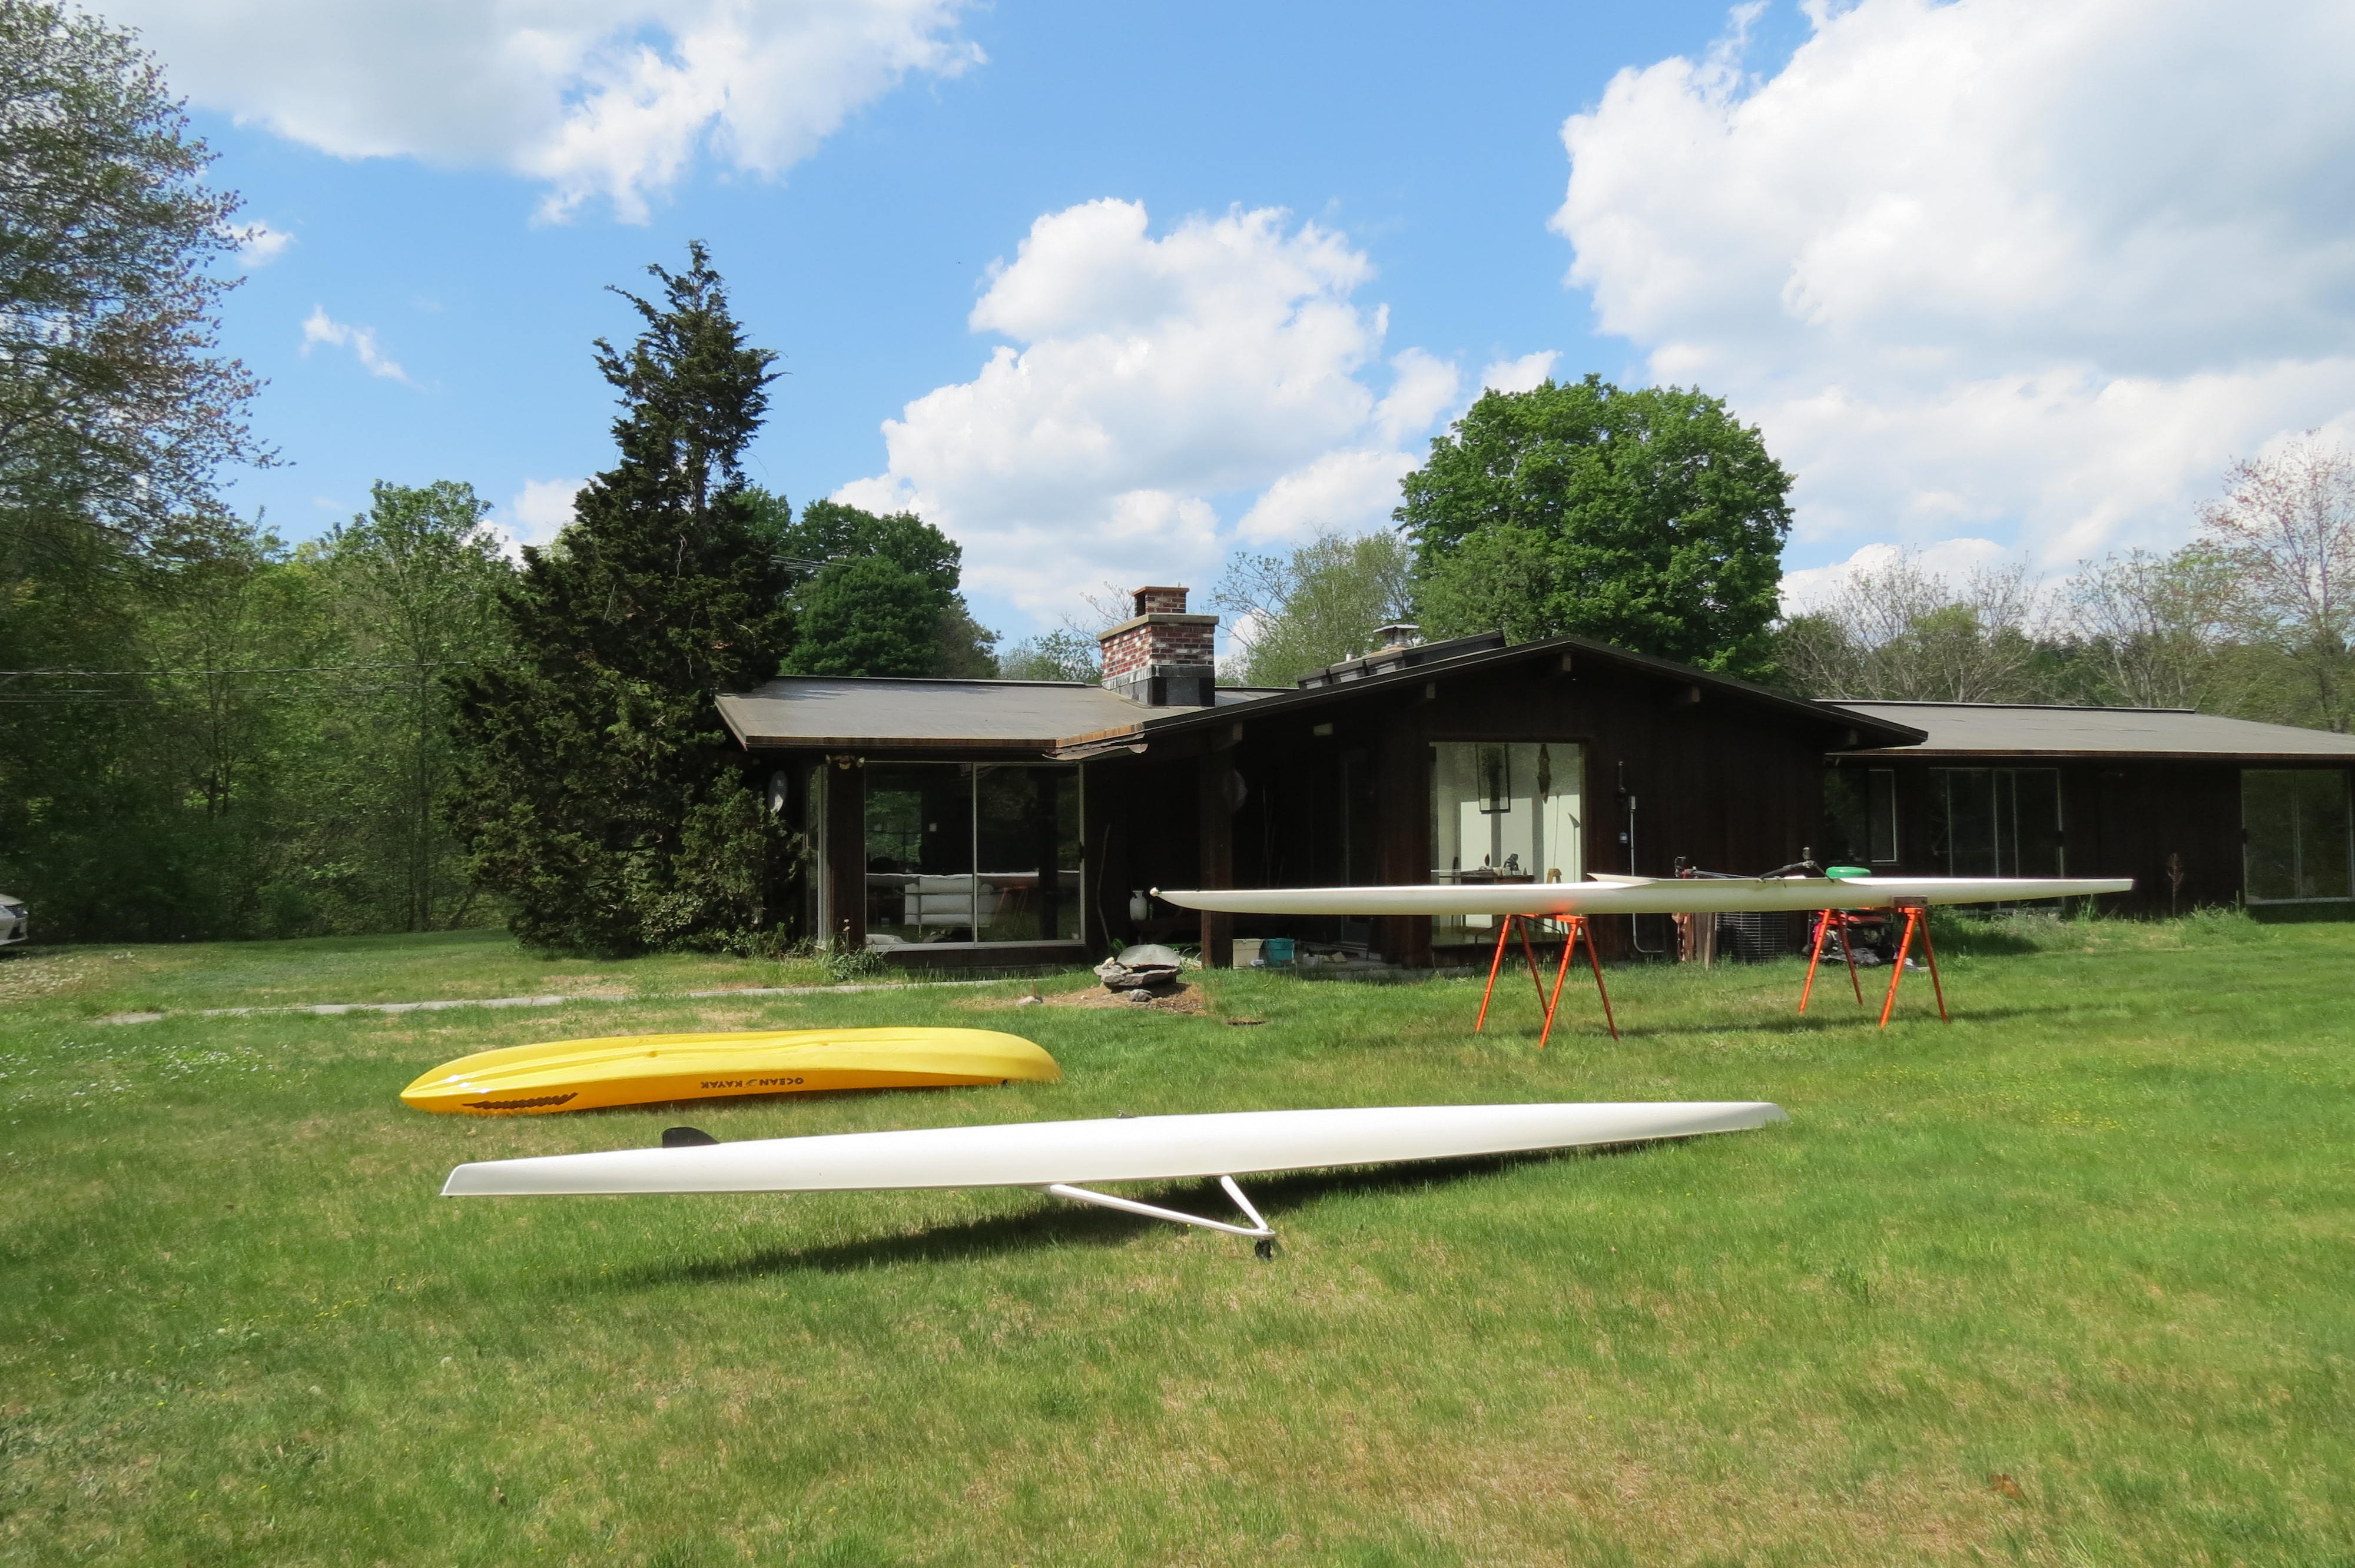
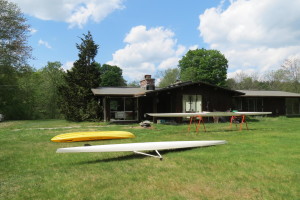 My parent’s house in Carlisle – note the low slope roof and lots of glass This house did a lot to shape my thinking around what a house should be like. Carlisle, while not as rural now as when I was growing up (the population has climbed from 1600 or so to a bit over 5K in a 50 square mile town) – it is still pretty open, so a house can still be built that is very externally oriented.
With this as background and thinking about the raw land I had, I came up with a prioritized list of what was important to me.
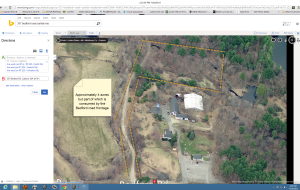 Bing maps, bird’s eye view of my property. Orange dotted lines are an approximation of the lot lines (the lot is a “pork chop” with the required footage on Bedford Road. The old Bates dairy setup with the large barns and outbuildings abuts my property and now belongs to the Kimballs, who have a string of ice cream stands that are very successful 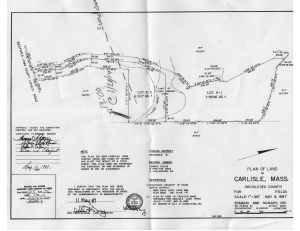 My plot plan, printed out on 8.5′ x 11″ paper and brought to the my raw land at 1pm in the afternoon on January 26, 2014. We oriented on the property lines and calculated the sun on the horizon and the location of the sunset while standing on what was the approved location for the house (that came with the deed, pre-approved building permits) 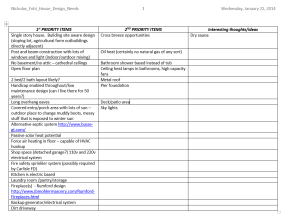 Prioritized items that I wanted to address or include in the house design I needed a builder – Deck / Acorn while Internationally known, is very local and houses like these (as well as my personal experience looking at their houses around town for several decades!) led me to think they could tackle my project
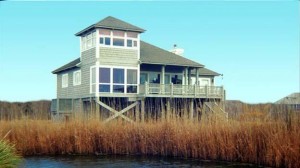 A house on pilings in a difficult location 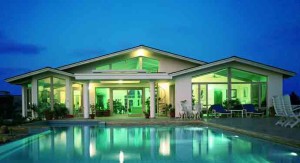 bringing the outside in, with walls of glass In the next post of this series, I will tackle how I transitioned from a wish list of check boxes and a feel for the property into design ideas and how to implement them.
I am flying to SFO on December 2, then flying to Pittsburgh PA on December 9 and returning to Boston on December 13’th
Good morning all
NSTAR might be coming in the near future – but I am starting to wonder if Paul will be able to get the Generac placed and running before they get organized and arrive – lol
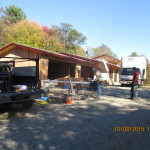
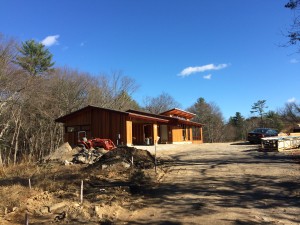 Paul’s Kubota tractor and a warm sun shining. The tractor is for leveling and lowering the grade in the garage in preparation of pouring the concrete floor There have been some beautiful fall days here in New England and the weather, on average, has been very mild. There has been some frost and some rain, but not very much so far. The picture above gives a good feel for it. Paul and his team have continued to be very productive in this environment
The orange Kubota tractor was onsite to do some site leveling but also mainly to lower the grade of the garage. The original Deck Acorn plans called for a 7′ garage entrance. Paul thought I would like a 7′ 6″ entrance better (and the subsequent lower grade) and he suggested we lower the planned height of the floor. This gives the building less of the planned linear flow horizontally – but we looked at the ground and realized it just felt better in terms of the grade of the overall property, and while 6″ doesn’t sound like much, it means that the interior of the shop is now an 8′ ceiling AND we don’t need a concrete ramp up to the garage once the final grade is done (which we were afraid would crack in the future).
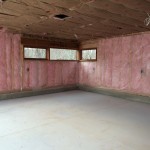
The concrete team did an AMAZING job. I was assuming I would need to put down a layer of epoxy or a product I saw on Jay Leno’s Garage webseries – SwissTrax. My Dad’s shop has a rough concrete floor and it is very difficult to keep swept up and clean. However, my new shop floor is already like a crystal still millpond – it is fantastically smooth and even. They did an phenomenal job on it and on the concrete pad for the Generac generator (which I forgot to take a picture of yesterday).
I really, really like it. I may still put something like SwissTrax or padding down, but for clean up purposes, I think we are good to go!
On other fronts, the insulation is blown in (two stages – a foam sealer and then standard pink fiberglass). This includes the work under the house – though everything, inside and out still needs to be closed up. The ducting and exit of the bathroom fans into the underside of the roof was also completed (so they do not have to pierce the roof itself)
-
-
A VERY nice job on the concrete floor for the shop – I was originally thinking I would want to put down an epoxy product to smooth it out and make it easier to clean, but now I don’t think so – it is a work of art !
-
-
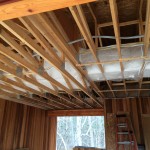
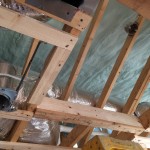
2 to 3′ of insulation wrapping the pipes and duct work between the shop and the house. The shop is going to be heated year round (in needs to be since the sprinkler system water tank is there – we don’t want any pipes to freeze). This area in the ceiling of the car port will be enclosed, but not fully insulated since it won’t be actively temperature controlled like the shop
-
-
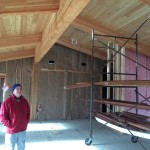
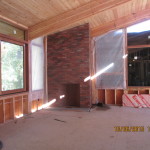
Picture taken from approximately where the TV will be placed, looking back at the kitchen. With the insulation in the walls, you really start to feel the space (and it is much more quiet when you walk around)
-

-
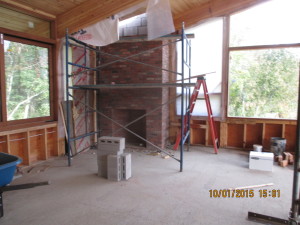
The fireplace is a definite focal point – the angle so it faces the room really makes a difference. I hope it works out in practice the way it was planned. No problems with the curing of the mortar – we hit our 28 day minimum cure time a few weeks ago.
-
-
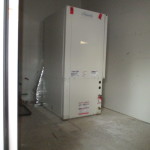
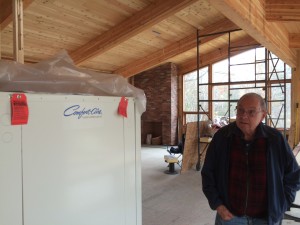
ComfortAire is placed and awaiting attachment of the water lines to the 600′ open loop geothermal well
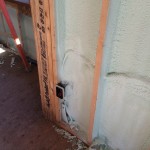
Whoops – I forgot to show you what is behind the pink fiberglass – an hard foam product that blows in and cures very hard. They also put in fire stop on the poke throughs
edit at 6pm – added Geothermal details at the bottom of the post
I have been doing some work travel and so it is has been a couple of weeks since any post here. Fall has arrived in a definite way – it got very windy last week and a majority of the trees are now pretty bare as you can see here the maple next to the big white pine at the end of my driveway is still hanging on – but winter is coming!
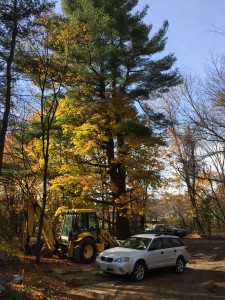 Not much of the fall leaves are still on the trees here in Carlisle Lots and lots of progress at the house construction site – my Dad has been over taking pictures and talking to Paul Hebert and his team, so I have some shots to share from across the last few weeks and some we took yesterday. When my Dad and I were there yesterday, Paul was there with his mechanic working on some of the equipment. Apparently we have the electrical inspection(s) complete to the point where NSTAR/Eversource can connect live power to the house – which is great – assuming we can find them and actually get them to show up.
We talked about the grade of the carport and workshop floor, the patio entrance ramp and some other things – including the very, very neat air pressure valves he is using as end blockers on the vents for the dryer, the bathroom fans and the kitchen venting. He is running hard tin ducting either under the floor or in the ceiling trusses out under the house at the pilings or along the exterior wall by the bedrooms under the roof – all to minimize the number of roof piercings. It is a very neat set of solutions.
Paul also told us that he hopes to have the pad built in the next week or two for the generator and the propane tanks.
Finally we talked through a lot of stuff about the custom work with the aluminum i-beam for the kitchen island. A friend of my Dad’s has agreed to do the welding and machine work for us – we agreed that we would wait and do final measurements from the cabinets themselves.
Apparently some portion of the design team came by last week from Deck / Acorn and they were VERY pleased with what they saw – they had a lot of questions for Paul regarding some of the product and finish details he has been applying to the house – the house is getting more and more interesting to a lot of people!
Various external resources (will launch a new window)
- Everlast roofing – this is a video done by a roofing company in Maine that is near the Everlast Roofing factory – it is super interesting how they make the product and it really convinced me that they were the manufacturer to go with. This was Paul’s number one choice in terms of product – highly recommended. https://youtu.be/hKP1XSpPfCw
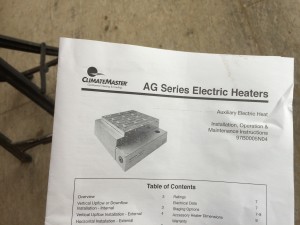
- the geothermal unit – Comfort Aire –
- This Old House explaining how a geothermal heat pump works. My system is an OPEN LOOP ground water system (re-circulation of potable water in the water column of my 600′ well. This is a clear explanation of how the systems work – but the sample home owner’s system looks like a retrofit and is really way more complex than my ‘designed in from scratch’ platform
-
-
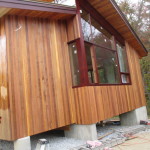
The new Sikkens oil going on the siding – you can see the raw cedar and the finished difference for the first coat.
-
-
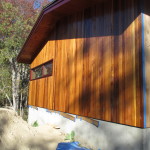
Ultimately everything is getting a coat, an interim sanding pass and a second coat. It is hard to photograph what it looks like in person, but this picture really gives a feel for how it draws out the colors in the wood instead of masking them. The right hand side has yet to be treated. This is the garage wall that you see as you come up the driveway
-
-
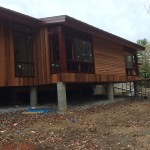
Another rainy day shot from a few weeks ago showing the bedrooms from outside. The house is starting to look like fine furniture!
-
-
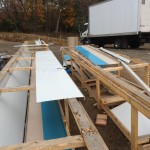
spare metal roofing materials and their shipping structures. The underside is white. The topsides come coated in blue plastic to protect the surfaces while shipping.
There is an interesting video produced by a roofer in Maine from his visit to the Everlast Roofing manufacturer
https://youtu.be/hKP1XSpPfCw
-

-
Despite it being a wet drizzly day when I took this shot, you can see the color of the metal roof came out fantastic – I like it better than my original thought of Brite White. It has contrast with the rest of the house but it is not so strong that is over powering
-
-
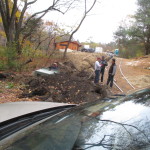
Installation of the electrical splice box area, the trench up to the house and the conduits.
We are also going to put a culvert drain across the bottom of the driveway to try and prevent a giant uphill puddle from forming on the uphill side of the driveway entrance (since the driveway itself is built up a bit from grade).
Apparently, most winters/spring time – this can be pretty wet and have a lot of standing water
-

-
The splice junction box from NSTAR or Eversource (I am not sure what their current branding structure is – anyway – the power company). The 8,000 volt line runs underground in the main driveway and they are going to splice into it from here. Underground conduit will run up to my house
-
-
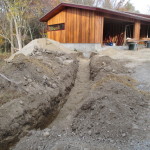
The trench for power leading to the garage.
-
-
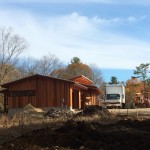
The house in all its color. In the foreground is the covered up trench. We put in extra conduit and electrical for lighting along the drive way – I am not sure which way to proceed with the lighting…
You can see (though it is a bit small in this picture) that the electrical meter has been installed on the garage wall. On the inside of the garage, on the other side of the meter, is the Generac panel – which is the input from the Generac generator system. 22,000 Kva system that will power the whole house when the power is out – this is required in order to run the fire suppression sprinkler system and well pump in case there is a fire while the power is out. David Flannery (the current fire chief and an old classmate of mine) required this – which was not much of stretch since I wanted an installed generator anyhow.
-
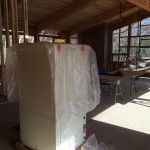
-
The new GeoThermal unit has arrived. It is about 2/3 the size of a refrigerator (which is what it is essentially since it works on the same compression/expansion refrigeration cycle that a kitchen refrigerator works on)
-
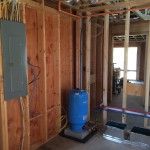
-
The main house electrical panel, the cold water tank and the forced air ducting (heating/cooling). The geothermal unit will go in this room soon.
-
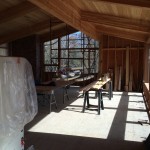
-
This gives you a feel for what the warm winter sun will be like. This was taken around 12:30 pm on Saturday 10/31 During the depths of winter, as the sun is lower on the horizon for more of the day – lots and lots of sun. During the summer we will have shade but still lots of light. Deck did a fantastic job on the math calculating angles, our latitude and where the sun will be based on my design ideas
-
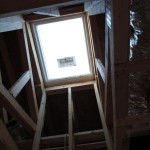
-
Each bathroom has its own light tunnel and skylight (that will open if needed). The tunnels will be dry walled and painted bright white for maximum reflected natural light down into the bathrooms
Edit – more detail on the Geothermal unit – my Dad and I went over to look at the house in order to remind ourselves on the make and model
Fall has started to arrive in Carlisle and it is a misty Saturday here. Things are continuing to move apace at the job site. As you can see below in the pictures, things have moved forward quite quickly during the week, with lots of progress on the electrical, sprinkler system, fireplace and the cedar siding – all moving simultaneously.
I did a mid-week update here. Below is a latter shot my Dad took (the date stamped photo) and the rest are from today, Saturday 10/3. You can see how things are really moving along!
-
-
Midweek photo – masonry going up, up, up
-
-
Saturday photo – the interior chimney stack looking very, very close to done. Still some work at the junction of the roof and the chimney but otherwise very close – it looks great doesn’t it?
-
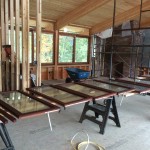
-
windows with the stain drying
-
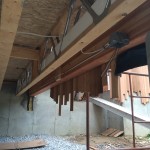
-
The under-the-house wiring for electric and lights. The cedar siding is going up all around
-
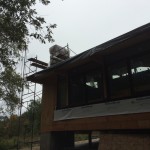
-
Exterior of the chimney – I think the current plan is that the cap will be put on this coming Tuesday
-
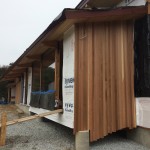
-
Great shot showing the variety of color in the cedar – it is going to look really nice with a clear oil protection
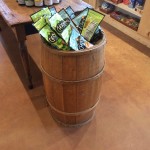
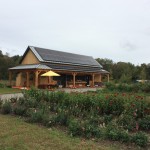
On the way home, we stopped in at the new Clark Farm Stand which is only a few hundred yards down the street (on the way to the center of town). I wanted to see the ‘new’ barrels that they have in the shop – they are made with wooden hoops, possibly very similar to the type that was milled on my property back in the day. The Farm Stand is a great place – very cool post and beam structure and lots of really fresh ingredients, food and what not. Here is a link to the Farm Stand website – it is an extension of the rejuvenated Clark Farm that has kept the name of Guy Clark, even though he passed away a number of years ago.
-
-
Barrel at Clark Farm Stand about 200 yards along Bedford road towards the town center – inside they have a couple of barrels with wooden hoops holding them together – neat!
-
-
Clark Farm Stand fully decked out for Fall
-

-
Beautiful flowers, even on a misty day
-
-
My Dad removing his Bean boots while I admire our new pumpkin from Clark Farm Stand
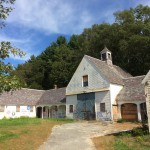
Finally, I remembered that I had some shots I took last weekend when my Dad and I went to go look at the dam at Greenough Pond. The Greenough Land is a very large conservation parcel (200+ acres) owned by the Carlisle Conservation Foundation (a conservation non-profit that also owns the abutting land next to my parent’s house). My parents were involved in this purchase in 1973. I remember as a kid, helping Peter Webster (he and his family lived there at the time and were farming it.) bring in the hay from the fields several times. I have a very strong memory of riding across the top of the dam on the fender of his John Deere tractor with other kids scattered all over and several large loads of hay bales on the trailer – we were heading to the old barn across the pond. This barn is still there, probably thanks to its slate roof, but is pretty beat up now since it has not been in use for several decades – the town has recently decided to tear it down. But a really special property and I have a LOT of great memories of hunting for frogs and turtles here as well as hoisting hay bales, jumping from the rafters into giant hay piles and just enjoying the summer.
I have also included a snipped picture of what the Barn used to look like – from the cover of the very interesting (at least to the locals – lol) retrospective of The Mosquito. If you are reading this and are not from Carlisle, The Mosquito is the local town newspaper – its very name gives you a good idea of the local proportions of dry land vs wetlands!
-

-

-
Pano shot of Greenough Pond taken from the dam. Greenough pond is downstream of my place – Pages Brook drains to here and then ultimately to the Concord River and the Old North Bridge
-
-
The Old Greenough Barn – which is alongside the Greenough Pond. A very elegant barn complex but it never really found a use in the last few decades. The graffiti is pretty mild – I enjoyed the statement on the main door – which is not really visible in this photo – that says “Do Not Open Till Christmas”
-

-
Greenough Barn from the ice on Greenough Pond
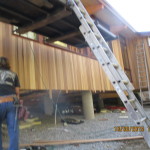
Deck house is known for their classic cedar tongue and groove vertical siding – there was a bit of a delay for installation as we were waiting on delivery from California. But it is here and going up and my Dad caught a shot of it today.
Tyvek vapor barrier and then the siding is going up as of this morning – some of which has already been trimmed
Chimney is progressing too – looks fantastic!
ok – the word has been passed – pasta is ready – a more substantial update over the weekend hopefully 🙂
 Chimney stack going up – the roof is now penetrated and the exterior, above roof line work is going to be proceeding soon 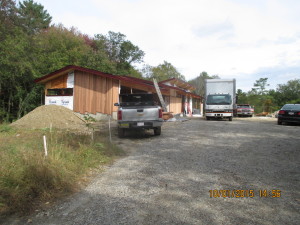 Tyvek vapor barrier and cedar siding going up
|
|










Recent Comments